Looking for a meaningful, personalized gift that feels extra special? Brush lettering makes it easy to turn simple items into heartfelt treasures — perfect for birthdays, weddings, Raya, Christmas, and more.
Whether you’re a total beginner or already obsessed with calligraphy, here are some fun, easy DIY gift ideas that anyone can make with just a brush pen and a little creativity.
1. Hand-Lettered Greeting Cards
Nothing beats a handmade card with your brush lettering. Write the recipient’s name or a short quote like:
- “You’re the best, Ma!”
- “Selamat Hari Raya”
- “You make my heart smile.”
What you need:
Brush pen, blank card, maybe some stickers or washi tape.
Tip: Add floral doodles or a watercolor wash to level it up.
2. Custom Name Tags or Gift Tags
Create small name tags for party favors, wedding tables, or gift boxes. Write each guest’s name in your style—everyone loves seeing their name in beautiful writing!
Materials:
Craft paper, twine, brush pen, hole punch

3. Personalized Tote Bags
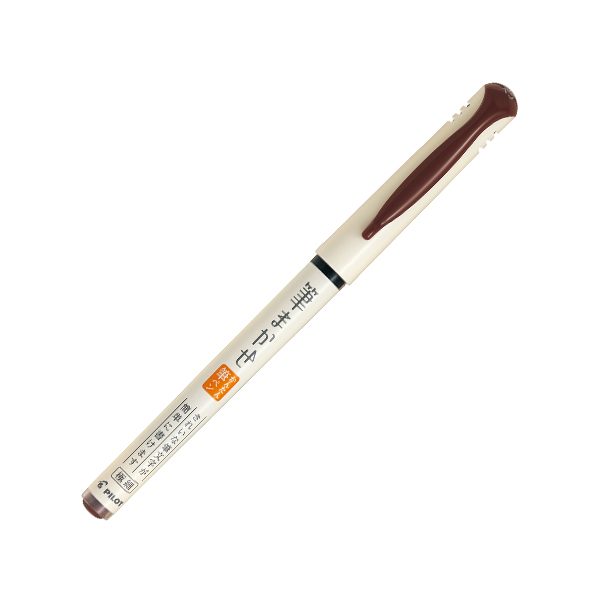
Buy a blank canvas tote and letter a motivational quote or their name using fabric brush markers (like the Pilot Laundry-Tec Pen).
Quote ideas:
- “You Got This!”
- “Books. Snacks. Vibes.”
- Their name in big calligraphy + a doodle
Where to get blank totes: Shopee, Daiso, Art Friend
4. DIY Framed Quotes
Design a favorite quote or inside joke with brush lettering, and frame it! This makes a great decor piece for home or office—and it’s budget-friendly.
Tip: Print your lettering on watercolor-textured paper for an artsy effect.
5. Handwritten Envelopes with Cash (Duit Raya or Angpau)
Turn ordinary money envelopes into a mini artwork with brush lettering and doodles. Write their name or a blessing.
6. Lettered Bookmarks
Cut thick paper into strips and letter your favorite quotes, affirmations, or initials. Laminate them if you’d like. Add a tassel for flair!
Perfect for party favors, teacher gifts, or handmade giveaway items.
7. DIY Mini Calendars or Planner Covers
Design a mini calendar with hand-lettered months or decorate a planner cover with a motivational brush-lettered quote.
Don’t Know Where to Start? Join a Class!
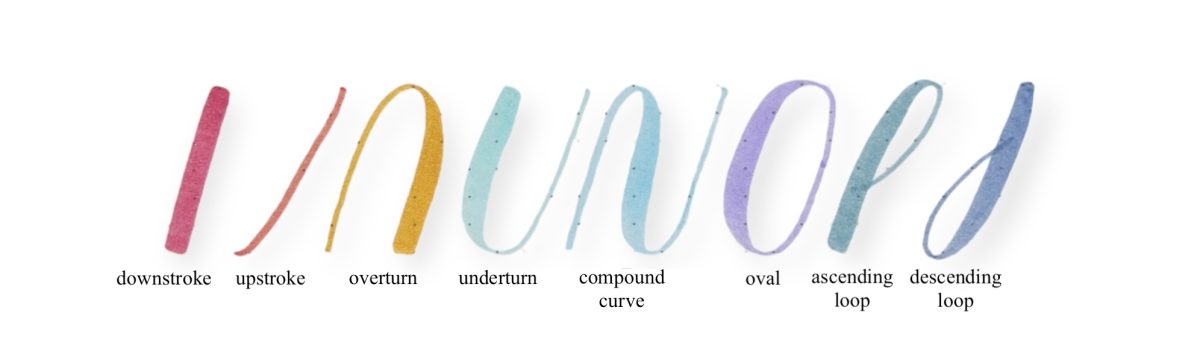
At Washilicious, we’ll guide you step-by-step through creating your hand-lettered gifts in our private brush lettering workshops (in KL or online). You’ll learn basic strokes and layout tricks and leave with a gift-worthy final piece.
Book Your Creative Class Here
(Materials included — even if you’re a total beginner!)
Download Free Brush Lettering Worksheets
Do you want to practice your brush lettering before creating your custom name and gift tags? We’ve got you covered! Click the links below to download your free worksheets and create stunning brush lettering tags today!
Free Downloads: